Products
Solutions
Resources
9977 N 90th Street, Suite 250 Scottsdale, AZ 85258 | 1-800-637-7496
© 2024 InEight, Inc. All Rights Reserved | Privacy Statement | Terms of Service | Cookie Policy | Do not sell/share my information

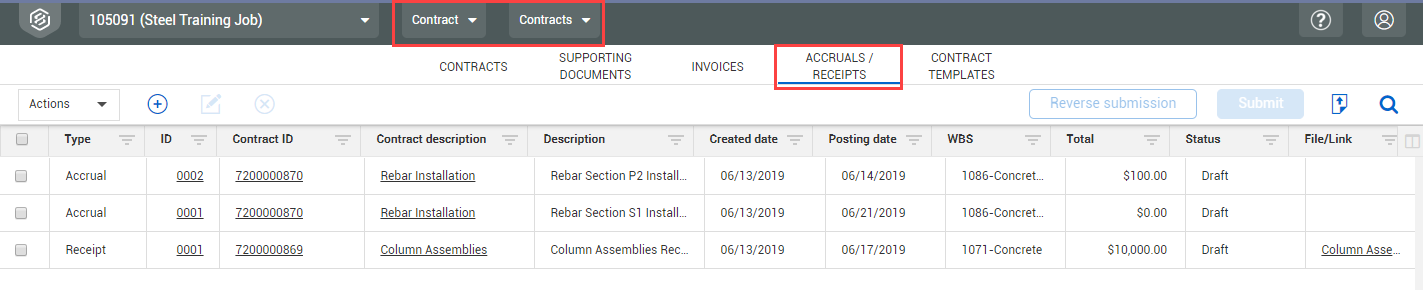
After goods or services are provided, you can use the Accruals/Receipts tool to track the associated cost. If you have a receipt or invoice, you can enter it in Contract to send the cost to your ERP system. If you have received goods or services but have not yet been invoiced, or you intend to pay for it later, you can create an accrual.
To access the Accruals/Receipts log, select the Accruals/Receipts tab.
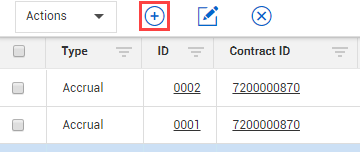
You can create new goods receipts by clicking the Add icon.
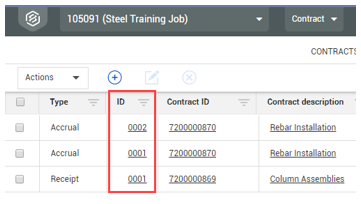
To open an existing goods receipt, click on the hyperlinked ID. You must select the ID of the receipt.
The Accrual/Receipts record contains a header with key information and actions.
| Field/Section | Function | |
|---|---|---|
|
1 |
Contract |
The Contract ID and name the accrual or goods receipt is associated to. |
|
2 |
Vendor |
The Vendor ID and name on the contract. |
|
3 |
Description |
Description of the receipt or accrual. |
|
4 |
Posting Date |
This is the date of when the cost will hit the back-end accounting system or ERP system. |
| 5 | Delivery number | The delivery number of the goods receipt. |
|
6 |
Supporting Documents file/link |
Upload or link any items associated to the goods receipt or accrual (e.g., invoice, material receipt, PO, pictures, etc.). |
|
7 |
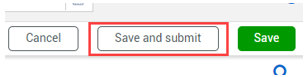
Save and Submit |
Submit the goods receipt or accrual. This will send the registered quantity or amount to the accounting system/ERP system and adjust any associated line items. In a proxy ERP environment, this adds the goods receipt or accrual information to the contract line items in the accrual/receipt view set. Contract sends accruals to InEight Control only after they have been submitted. |
|
8 |
Save |
This will save the goods receipt or accrual information as a draft. No information will be sent to the accounting system/ERP system. In a proxy ERP environment, no information is added to the accrual/receipt view set. |

The following steps walk you through adding a goods receipt using the accruals/receipts tool.
Summary: Add a goods receipt when the goods or services have been delivered. Add an accrual when the goods have been delivered, but you have not yet received an invoice and want to post the costs in the current month.
Click the Add icon. The Add new item dialog box opens.
Select the Accrual or Receipt item type, and then enter a description, contract ID, and posting date.
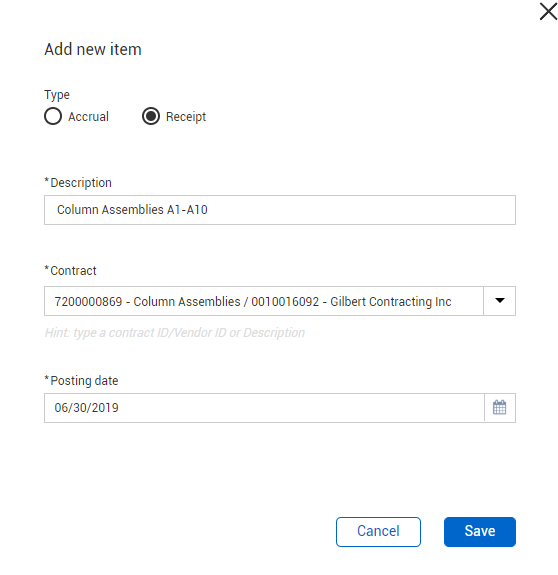
When creating a goods receipt, the Contract drop-down list shows only contracts with line items that are expecting a goods receipt.
When creating an accrual, the Contract drop-down list shows all contracts containing line items.
Click Save. The Accruals Receipts Line items page opens.
Click the Add icon to add line items from the contract previously selected.

Select the line items you want to add to the goods receipt or accrual.
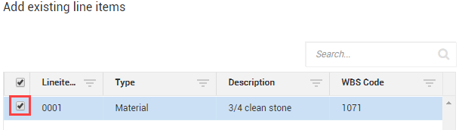
Click Add. You can see the following details: Line ID, Line Description, Type, PO Qty, and unit of measure (UoM). If you are adding a goods receipt, the following values are also shown: previously received quantities, quantity, receiving amount, ERP system status, and ERP system document ID. If you are adding an accrual, the following values are shown: previously received quantities, accrual type, accrual GL account, accrual amount, ERP system status, and ERP system document ID
When creating a goods receipt, if a line item has been tagged in the contract as not requiring a goods receipt, or if a line item has been fully received, it will not populate in the list of available line items.
When creating an accrual, all the line items that have not been paid out in full are available for selection.
If you are adding a goods receipt, enter the value received in the in the quantity field. If a submitted goods receipt has quantities that were entered in error, you can enter a negative quantity up to the amount that has already been received. The receiving amount will auto calculate based on the quantity entered, multiplied by the unit price.
If you are adding an accrual, enter an amount in the Accrual amount column.
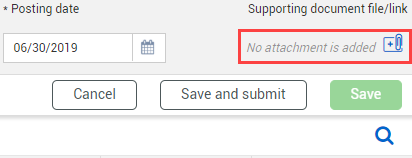
Optionally attach a copy of the receipt or invoice to the goods receipt or accrual. Click the Add attachment link in the right side of the header. The Add supporting document dialog box opens.
Upload or link files via a URL, and then click Save.
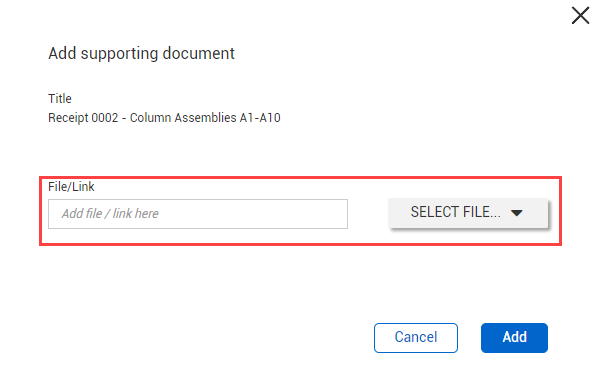
This opens a window where a document can be uploaded or linked to via URL.
Click Save or Save and submit.

What's next: In the Accruals/Receipts register, you can now see the receipt total and status have been updated .
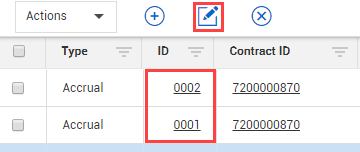
There are two ways to edit an accrual or goods receipt once a line item has been created. You can edit the accrual or goods receipt by clicking the corresponding ID, or you can select the item you wish to edit by checking the leftmost box and clicking the edit icon adjacent to the add icon.
You can delete an accrual or goods receipt which has not been submitted. Select the line item you would like to remove and click the Delete icon. Accruals and goods receipts cannot be deleted once submitted. To adjust a submitted accrual or receipt, a reversal must be done. This is covered in the reversals section of accruals and receipts.

If an accrual or goods receipt has been submitted, it can no longer be adjusted or deleted. Instead, a reversal can be made. Reversals send a negative amount equivalent to the original accrual or goods receipt. This is an all-or-nothing process, intended to keep accruals and receipts clear cut regarding submissions and changes made with the ERP system or accounts payable.
Select the line item for reversal and click Reverse Submission.

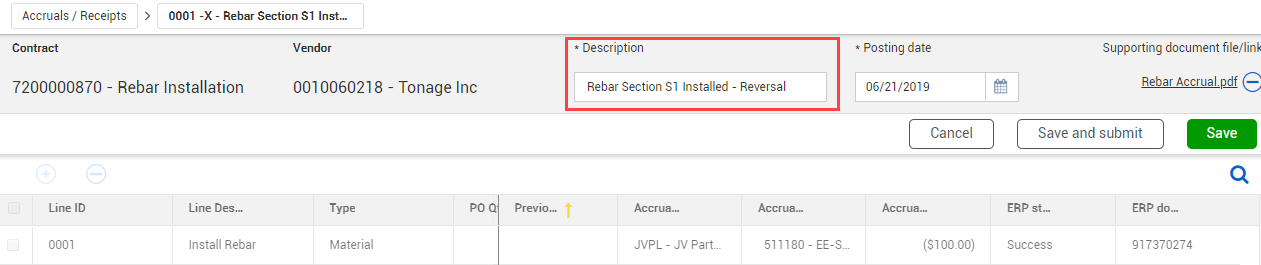
Click Save and submit when done for submission to the ERP system or proxy ERP.

If the values were entered in error, instead of reversing a goods receipt, you can back out the error by adding a line with a negative quantity up to the amount that has already been received. For example, if you submitted a goods receipt for a line item with a quantity of 100 and it needs to be adjusted to a quantity of 10, you can create a goods receipt for a quantity of -90. After the goods receipt is submitted, Contract automatically calculates the submitted receipt amount accordingly.
A goods receipt must already be submitted before you can create a goods receipt for a negative quantity.
Additional Information
9977 N 90th Street, Suite 250 Scottsdale, AZ 85258 | 1-800-637-7496
© 2024 InEight, Inc. All Rights Reserved | Privacy Statement | Terms of Service | Cookie Policy | Do not sell/share my information